How to Install Android Marshmallow on Nexus 5, 6, 9 using Windows PC or Mac
At its developer conference I/O 2015, Google today unveiled Android M, the latest iteration to its mobile operating system. The update brings with it a handful of interesting features and other improvements. The full-fledged version of Android M will roll-out sometime later this year, but for those who want a sneak peek a developer preview version of Android M for select Nexus devices is out now. Here’s how you can install it on your smartphone or tablet.
Android M comes with a number of interesting features including Chrome custom view, built-in fingerprint scanning feature, and permission manager. The company says that with the new update it is going back to the basics -- offering bug fixes and performance improvements to the users. For instance, Android M-powered devices will have twice as much battery life compared to Lollipop-powered devices, the company claims.
The developer preview of Android M is available for Nexus 5, Nexus 6, Nexus 9, and Nexus Player are now available on the company’s website. In case this is the first time you’re trying to manually flash your phone, or you've forgotten the commands and tools required to initiate the process, below is a quick little guide for you.
Step 1. First of all, you need to download the correct factory image of Android M for your device from this link.
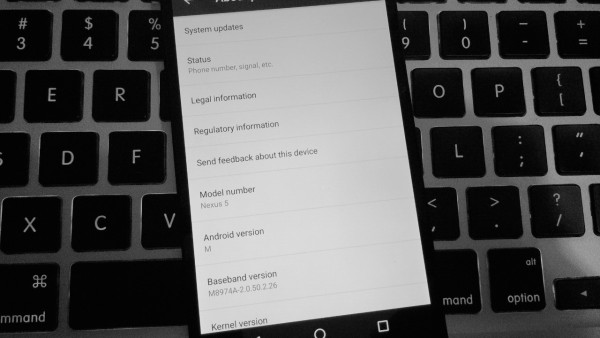
Step 2. Now you need to enable USB debugging, which will essentially let your device know that you want your computer to interact with it. To do so, you need to go to Settings menu and scroll down to the About placard. Click on this for seven times and you will see a confirmation message stating you’re a developer now. Now go back, and you'll find a Developer option, upon entering, you will find an option to enable USB debugging.
Step 3.
Once you’ve downloaded that, extract the files (and also all the individual files) into an easily accessible folder and grab drivers and tools that are required for your computer to interact with your device.
Windows users need to download ADB driver, which is available from here. Once the app launches, type ‘y’ (without quotes) and press enter to initiate the installation.
Mac Users can simply get away with all the procedures if they enter this exact text into the Terminal menu. This will automatically download all the prerequisite files.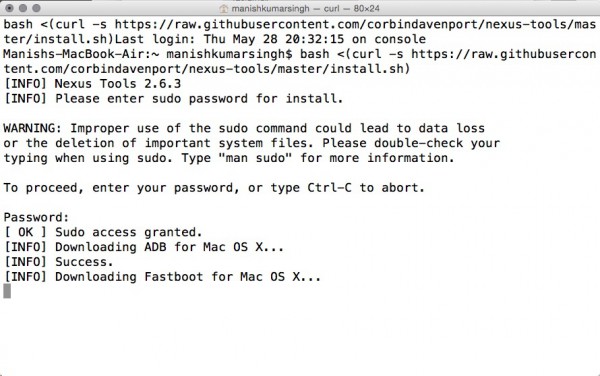
Step 4. For Windows users who have installed the program, type in adb reboot bootloader. The screen will give you a confirmation when everything goes fine. Now type in fastboot oem unlock.
For Mac users, a quick way to do this is by tweaking a system settings first. Go to Settings > Keyboard > Shortcuts > Services, and check on ‘New Terminal at Folder’ option. Once done, go to the folder where the files found in the factory image are stored and right click on it. You would see an option where in you’re required to type the same commands, that is: adb reboot bootloader, and then fastboot oem unlock.
It will take a few minutes of time. If you see any error, follow the procedure once again.
Step 5. On Windows, you will have to flash the following files manually. Type in the following commands:
fastboot flash boot boot.img
fastboot flash cache cache.img
fastboot flash recovery recovery.img
fastboot flash system system.img
fastboot flash userdata userdata.img
On Mac, type in "./flash-all.sh" (without the quotes) in Terminal.
This will flash all of the needed files.Your phone will restart and will take more time than usual to boot for the first time. Let us know if you run into a problem.