How to: Installing the Nest thermostat
Nest debuted and became a darling of the home automation crowd, seemingly overnight. There's good reasons for that, as the company offered a unique and well-built system that is fairly simple for a homeowner to install. It also learns user habits and can adjust the temperature accordingly. The screen has a motion sensor and comes to life when you walk up to it, while remain dark the rest of the time.
The installation may seem confusing at first, but really it's fairly basic once you get past all of the technical talk and just pay attention to the parts that matter. We're going to install in on a fairly basic two wire system, as it is only going to be controlling heat. My home, for some unknown reason, has a separate air conditioning system, but given that I never use it, it really doesn't matter.
Step 0: Don't let the manual scare you, it isn't as painful as it looks.
Step 1: While the wiring for the vast majority of thermostats is low voltage it is still best to turn it off first. No, it won't knock you across the room if something happens, but you could short the system. There should be a switch either inside your basement door or near the system -- it looks like a light switch and normally has a red faceplate. If not, then use the breaker panel to kill power.
Step 2: Remove the old thermostat. The faceplate should pop right off, exposing screws which hold the base to the wall and wires which need to be disconnected. After unhooking the wires remove the screw and the base.
Step 3: (optional) If your old thermostat was rectangular then you likely will need to paint a bit as the Nest is round and will not cover the same footprint.
Step 4: Take the base ring and get it as close to level as possible (there's a built-in level you can use) and mark the screw holes for drilling.
Step 5: Once the holes are drilled and the ring is secured you will likely need to loosen the screws a bit and make some adjustments to get that bubble as perfectly centered as possible -- the holes are oval so there's room for movement. Note the image below was taken before this step and that the wires are already connected, which doesn't make a difference. In this case, it had to be removed to pound anchors into the plaster as the bottom screw missed the lathe and wasn't biting.
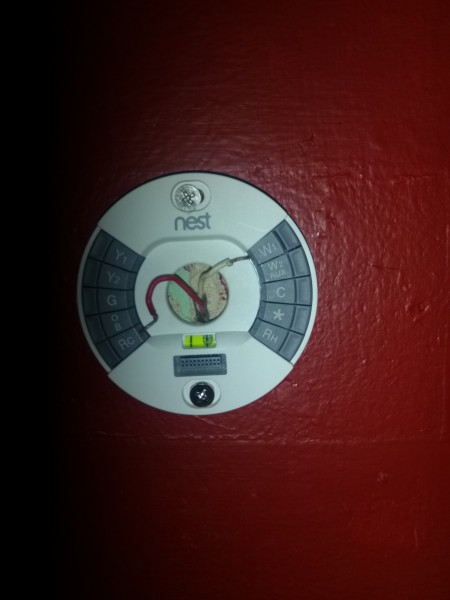
Step 6: Now let's connect the wires. With a two wire system this is fairly simple, but yours may have more. For the most part, the ring guides you by color. The white wire here is the heat wire and it's connected to W1. The red wire is power and it can be connected to either RC or RH. In fact, in a two wire system you can even reverse this as polarity doesn't matter.
The wires simply clamp in, no screws needed. Press the button on the edge of each area and slide the wire into the hole as far as it will go. The button will stay depressed and the wire will be secure. To remove it simply press the button a bit further and pull the wire back out.
Step 7: Insure that your Nest is fully charged. A micro USB slot on the back allows it to be plugged in -- the company recommends hooking to a computer and not a wall outlet. Once it is installed, the power wire will maintain the charge.
Step 8: Install Nest. It simply pops onto the ring, just be sure to line up the ports located on the ring and thermostat, then turn the power back on.
Step 9: You may want to install the app on your phone, if you haven't already. It's not necessary to the setup, but it's part of the reason you likely purchased the device.
Step 10: The thermostat will now begin walking you through the process. You'll choose the usual things -- language, location (by zip code) and several other options. If your home network has a password (and we hope it does) you can enter it here as well. Options are chosen by turning the ring of the thermostat left or right to go up and down and pressing on the front to click your selection. Once you're finished it will make a test run of your system.
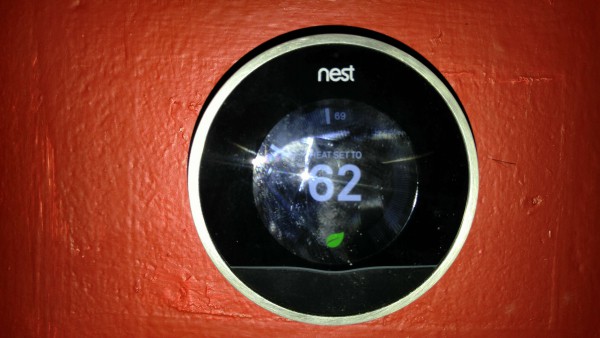
Step 11: You're done. Turn the thermostat to set the temperature -- right is up, left is down. Click the front to go to the home screen where you can set a schedule, access settings and much more.
Congratulations, everything is out of the way now and you're all set up and running. It may take a while for the system to learn what you want, but it will.