Ditch the external: How I upgraded my Xbox One X HDD to a 2TB SSHD
Ever since game consoles first started seeing internal hard drives, I've been fascinated with hardware previously reserved for PCs rearing their head inside living room systems. The PlayStation 2 toyed with the idea of an expansion bay that could take an HDD, even though it was near useless for 99+ percent of games. But it was the original Xbox which finally shipped with an HDD built in, making this concept a mainstay from then onward.
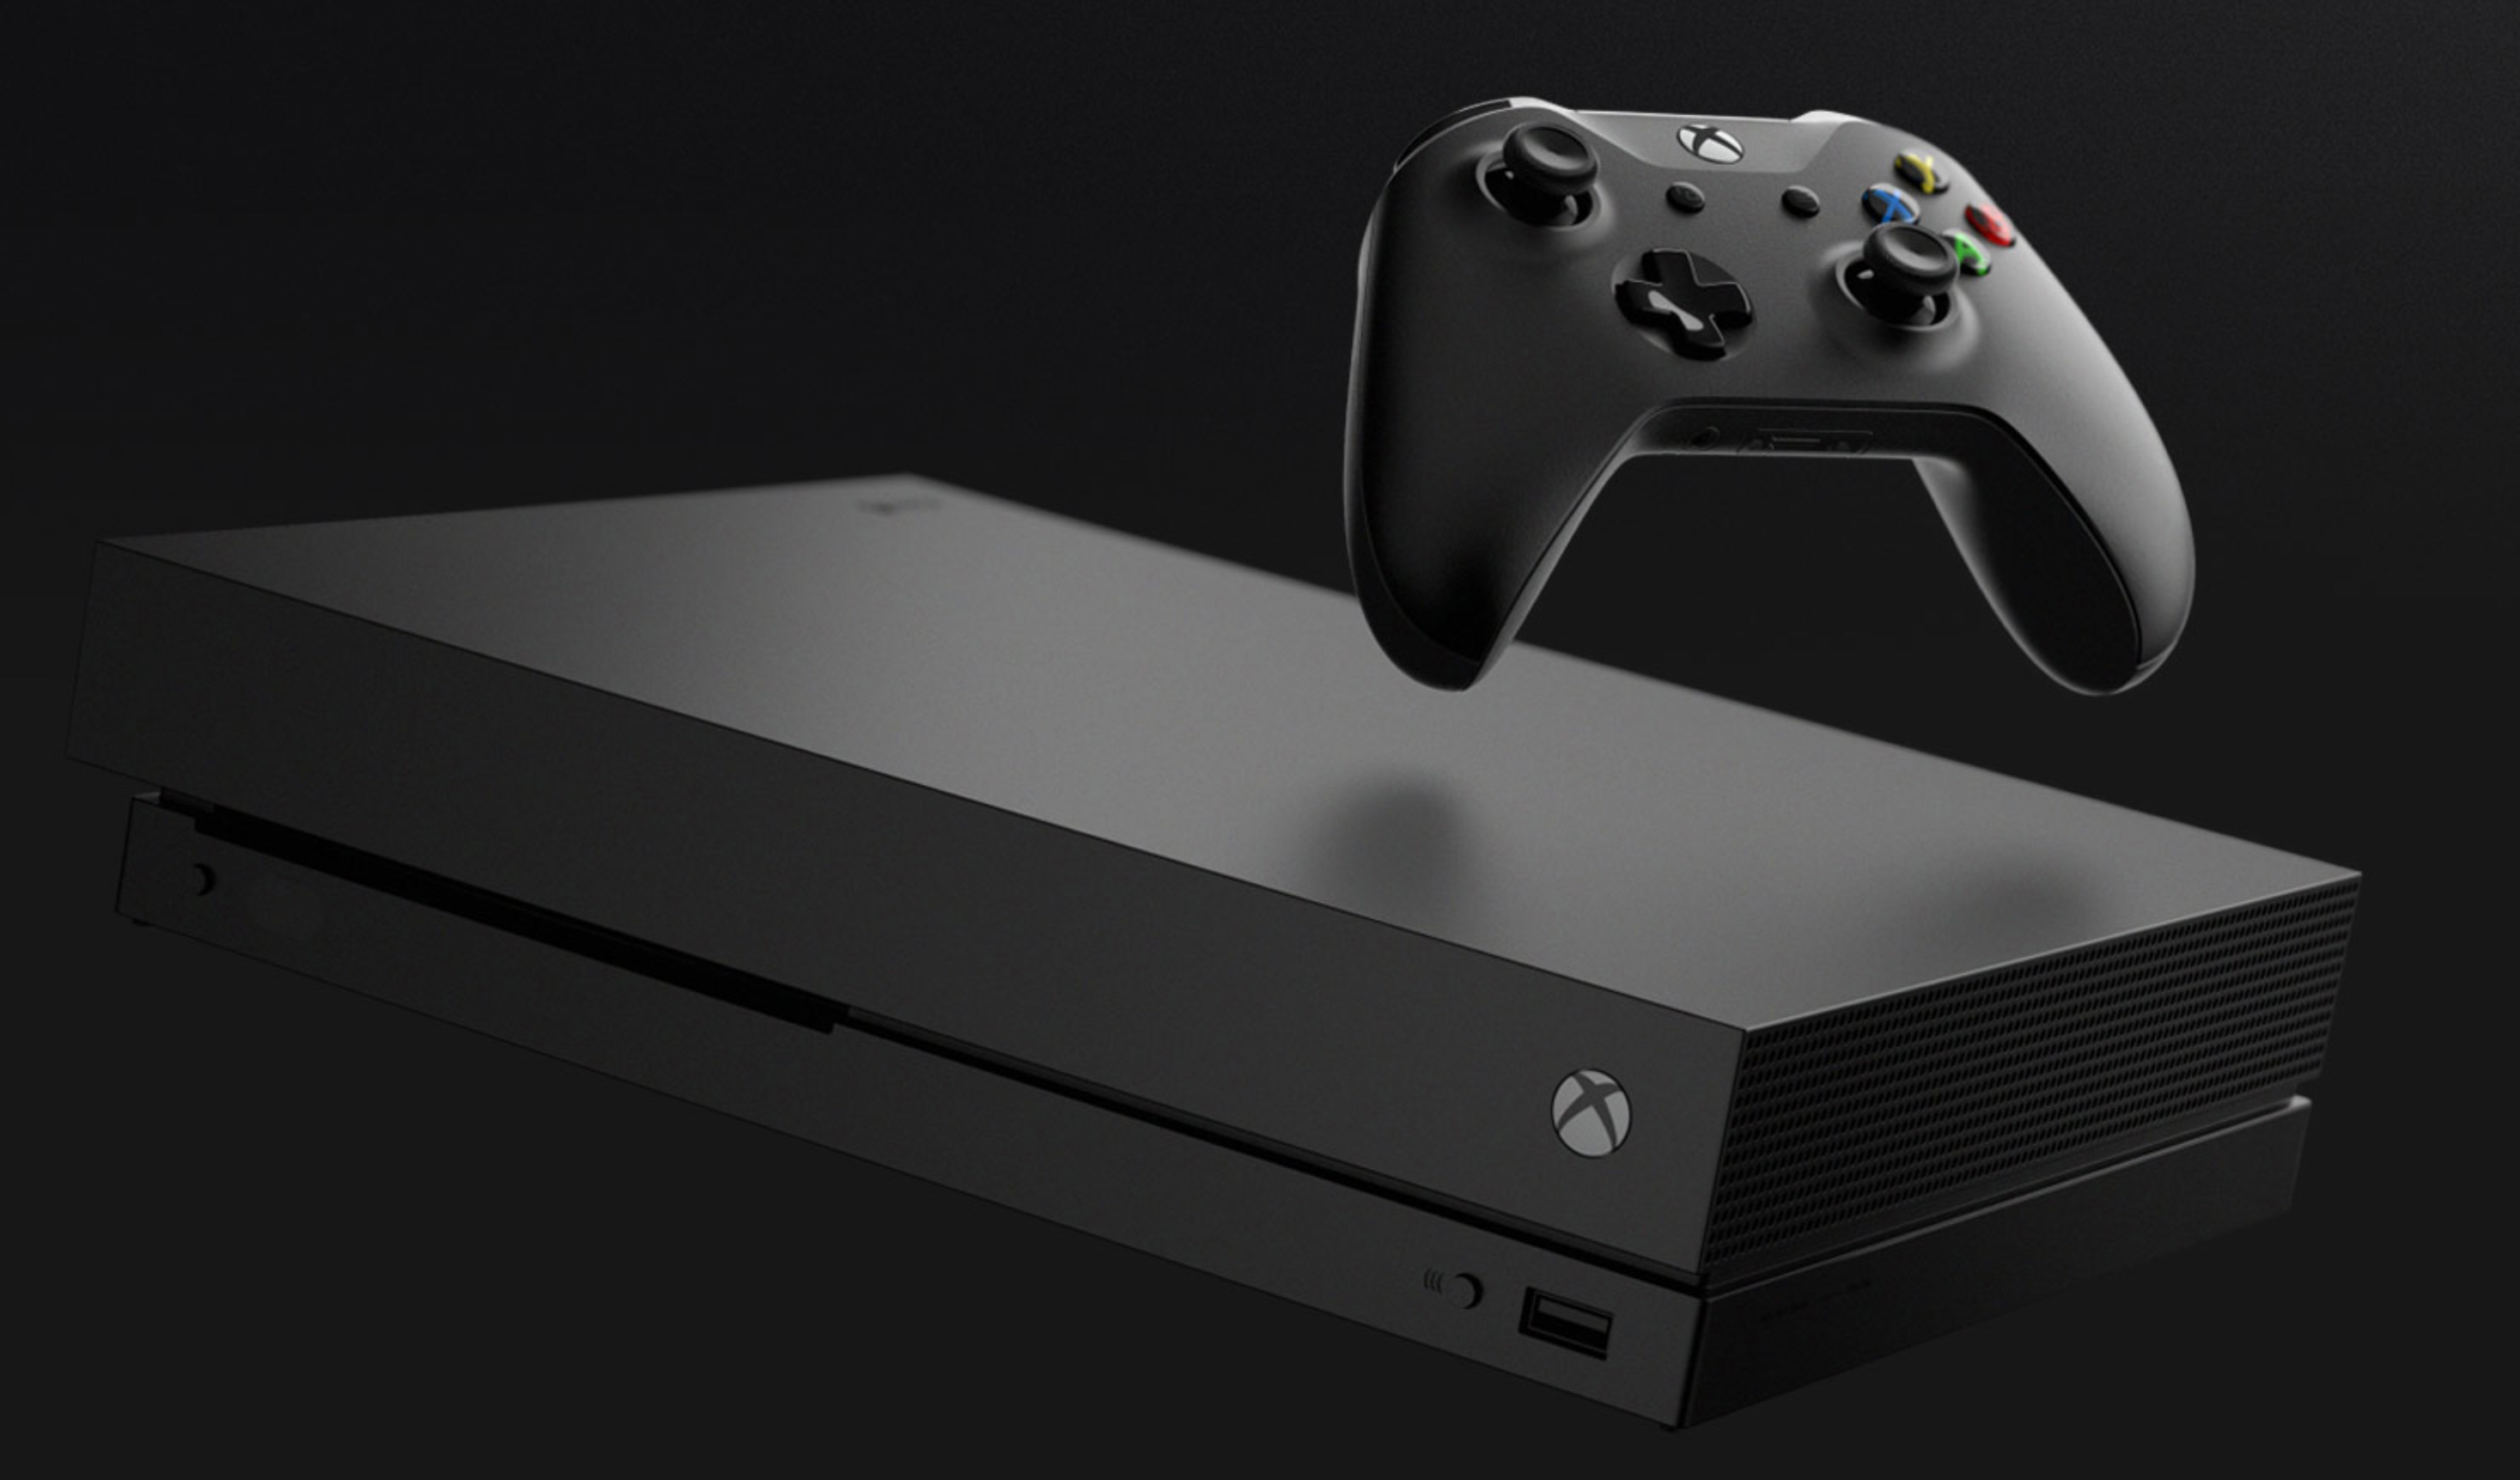
This holiday I took the chance to treat myself with an Xbox One X to replace my original edition Xbox One. I've loved the Xbox One ecosystem so far, and previously outlined all the major reasons why I feel the Xbox One is the clear choice (IMHO) over the PS4. Yet the one area that Microsoft continues to boggle my mind is with its choice of drive type for internal storage. Xbox One game install and patch storage needs were already growing, and now with the Xbox One X, 4K game asset patches are getting crazy large. Quantum Break is one egregious offender, with 4K assets coming in the form of an additional 94GB it has been reported -- putting its total install size at almost 178GB.
I like to have a diverse span of games installed on my console at any given time. I usually have 1-2 "go to" current titles I'm playing (currently focused solely on PUBG) with another 6-8 that I flip between when I get bored of my usual fare. Add in the problem that Xbox Live Games with Gold offers 4 new free games each month, of which I usually allow these to download just to toy with them on the side. You can see the raw GB counter spinning already, and I know I'm definitely not alone in my storage woes.
For many gamers, just buying an external hard drive to plug in over USB is a one-and-done kind of affair. But as an IT geek by night, and Managed IT Services business owner by day, I HATE the idea of external drives when it comes to game consoles. First, they are unsightly items that clutter my home theater, not to mention the extra cabling that needs to dangle from the Xbox One X -- and pray that my cats don't knock the drive around as well.
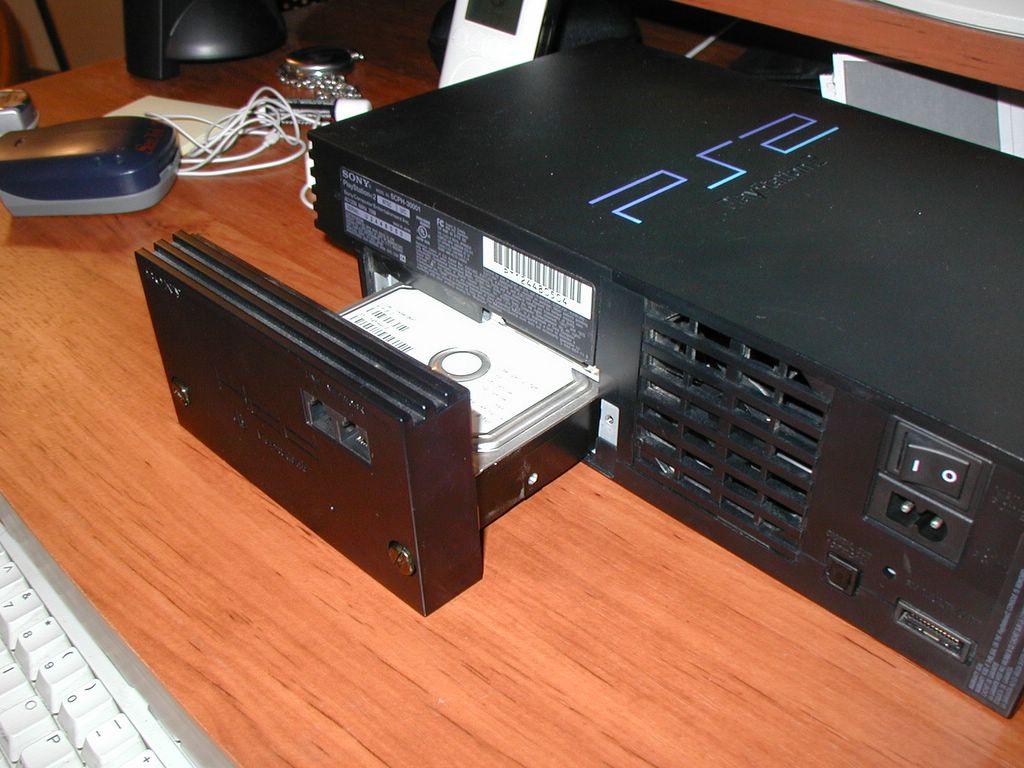
The PS2 was the first true console to toy with using an internal hard drive. Very few games took advantage of it, but being one of the first to use an HDD for a game console was enough to sell me on the expensive add-on. A decade and a half later, all game consoles are now sporting internal drives as standard fare. (Image Source: AHFR.org)
Second, while more of a petty geek matter, it's traditionally been known that USB always carries some kind of processing overhead that eats into the CPU compared to a native SATA drive. I know full well the Xbox One X has more than enough CPU power, but a part of me likes technical purity that only the SATA3 port on the XB1X offers.
And third, the idea of digging into the Xbox One X to do something that Microsoft doesn't outright provide instructions for is intriguing in its own right. I'll be the first to admit that Microsoft should have followed Sony in allowing for easier internal HDD upgrade paths, as this is the one area that PS4 got right. But just because it's slightly more complicated doesn't mean it can't, or shouldn't, be done.
NOTE: All of my instructions apply to all current editions of the Xbox One, including the Original, Xbox One S, and Xbox One X. I am focusing my article around the Xbox One X since that is what I upgraded, but these instructions cover the entire XB1 line.
DISCLOSURE: My instructions are provided merely as informational in nature, and are not endorsed or warranted by Microsoft or myself. While the chances of Microsoft banning a console are very slim using these instructions to replace a drive, the risk nonetheless exists. In addition, you knowingly void your console warranty by opening your Xbox One. These instructions are valid and accurate as of January 2018 and are not being guaranteed forever. Also, I give credit to the folks whose articles and help I link to below that made this possible -- this was NOT compiled solely through my own efforts!
The Basics: Picking a Replacement Drive for your Xbox One X
One of the first things you need to do is choose what kind of drive you will get for your Xbox One X. All editions of the console come with a spinning mechanical drive connected over a SATA port, in the form of a 2.5" laptop style drive. With the exception of the rare Xbox One Elite (which had a SSHD, or Solid State Hybrid Drive) all other versions of the Xbox One come with a standard HDD -- along with their known performance limitations.
I know why Microsoft had to do this: cost. Including SSHDs in every Xbox One raises the console's manufacturing costs, and choosing to go SSD (Solid State Drive) is even more of a death sentence for price points. But with the advent of now knowing that any Xbox One can be upgraded to a larger drive of ANY style you wish, this opens a few interesting doors.
Before you get any crazy ideas, I want to clear the water with this key piece of information. While it is confirmed as being technically possible to use any size drive over 500GB as a replacement, from what I can glean online, it's far safer to stick to the "approved" sizes Microsoft has shipped in Xbox One consoles to date. These approved sizes are 500GB, 1TB, and 2TB officially. The tool which I will link to below has the capability to size other drives with the right partitions, but you'll either 1) have unused wasted space on the drive or 2) risk bricking the drive in a future console update that could in some way inspect drive sizing more specifically. Best to avoid these scenarios and go with the safe path.
I initially wanted to go with an SSD. I've used one in every PC personally and at my business for the last however many years, and they are awesome. But the goal for this upgrade project places storage as a priority, with performance being a secondary concern. And until the cost per gigabyte of SSDs comes down to what HDDS and SSHDs offer, for most of us, going this route (especially at 1TB and larger sizes) becomes financially unfeasible.
I settled on a drive which offers the best of both worlds in my eyes. Seagate makes a 2TB FireCuda Gaming SSHD (Model ST2000LX001) that I got off Amazon for a mere USD $91 with free shipping (Note: as of 1/3/2018, it's now only USD $85 with free shipping). At only $0.0425/GB this drive is a beast that offers plenty of storage (double the Xbox One X standard). On the performance side, it has 8GB of flash memory caked onto the PCB which uses algorithms to "intelligently store" the most used data for the console to speed up load times in key areas. To top it off, the drive uses SATA3 which means it can take full advantage of the purported SATA3 port now on the Xbox One X. Check, check, check!
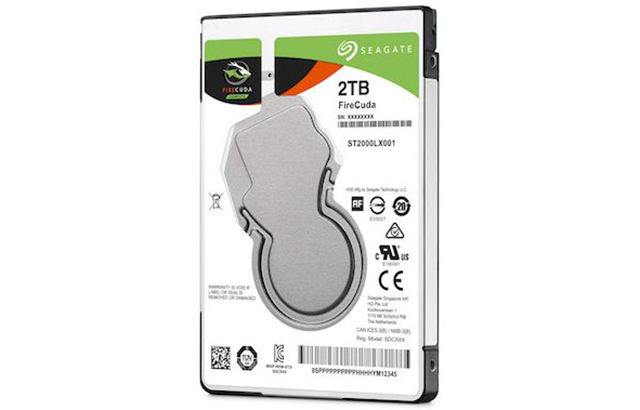
The 2TB Seagate FireCuda 2.5" SATA drive blends the best of performance and storage space for a reasonable cost per gig that most gamers can afford. This is the same drive I used to replace my stock Xbox One X hard drive. So far, so good! (Image Source: TechReport)
Compare this to going SSD, and you're in for a world of hurt. About the cheapest brand/model SSD at 2TB in size I would comfortably go with would be something like this Mushkin 2TB Reactor on Amazon that goes for USD $515 right now. At USD $0.258/GB, the cost per gig on such a drive is about six times that of the 2TB FireCuda at today's prices. While this will admittedly come down with time, I am nowhere near willing to spend MORE than I paid for my Xbox One X to get such a drive. I'm not that much of a purist.
If you want to get the absolute most storage for the price, you can opt for a true old school traditional spinning HDD and shave about $10-15 off the cost of what the SSHD versions go for. But honestly, I think the performance "kick" that the 8GB of flash provides on SSHDs is well worth the extra money -- which isn't all that much honestly. I see it this way: I want to upgrade my Xbox One X preferably only once in its lifespan, and I want to make my effort to disassemble and reassemble the console count on the first try. If you can afford the SSD, by all means, but for most gamers, the SSHD will be the sweet spot that makes most sense.
The Xbox One X Internal Drive Upgrade: Step by Step
I'm going to provide an abridged version of this process since much of the technical disassembly nitty gritty has been covered by others already online. Links to these resources will be included where needed.
NOTE: There are widely published methods (older ones) that cover how to "clone" the original drive in your Xbox One console to a new one using cloning software. From personal experience, this is the INCORRECT way to handle this upgrade. Unless you are replacing a like-for-like size drive (and why would you?) if you attempt to do a factory reset on your console, it WILL NOT WORK properly in most cases. I tested this on my Xbox One X on a first attempt and fell into the same issue. This method I outline here is the BEST way to do an upgrade that ensures you can factory reset a console down the road and/or resell it with ease.
NOTE: One tool needed for this, which most gamers probably don't have (I'm assuming here) is a SATA to USB 3 adapter to connect the new drive to their PC to stage the necessary partition sizing. While I carry around a version meant for IT pros in my toolbag, you can just as well get away with a cheaper Startech USB 3.1 to SATA adapter for a mere USD $17 and change on Amazon. Also, if you don't have a selection of "star bits" for electronics repair, you want to invest in the same toolkit I carry around and use for my Xbox One X upgrade, the 64 bit iFixIt Driver Kit -- only USD $30 on Amazon.
1) Partition the New Drive Using This Nifty Script by tai1976 on the GBATemp Forums
The new drive you bought needs to be properly partitioned to match what Microsoft ships on the drives it uses in factory line consoles. The Xbox One OS software uses these indicators when doing updates or factory resets, and these need to be in line for long term operation of the new drive. I went into some of the pitfalls of using drives other than 500GB/1TB/2TB disks above so I will spare that drudgery here again.
Per the forum post by tai1976 here, there is a file called "xboxonehdd-master-5.zip" which contains the necessary script which can automatically format and partition your new drive according to the drive size you bought. The full instructions on this process are within the zip file. I am NOT linking to the file directly as its location may change and I assume the forum post would update it down the road.
Once done, if using Windows for example, Disk Manager should show a total of about 5 partitions on the new drive -- all matching, to spec, what Microsoft uses to split its drives from the factory. There is some additional magic done by this script, including applying what are known as GUIDs to the partitions, which are the secret sauce for telling the Xbox One how to treat the drive in the course of a factory reset down the road. This is where cloning methods published online fail to be long term solutions.
2) Dump the Official Xbox One OS Install Files Onto the New Drive
Following the instructions provided in the script README from step 1, you will now need to place the clean Xbox One OS install files from Microsoft onto the proper partition of the new drive. Again, this is outlined in detail in the README within the script zip file so I will not cover them again here.
The download link for the official Microsoft Xbox One Offline Update files are here: http://www.xbox.com/xboxone/osu1
That's right, Microsoft hosts clean and regularly updated versions of the Xbox One OS software installer files publicly since they have their own processes which allow gamers to perform offline updates when trouble strikes their consoles. This means, technically, the install process used to stage your new Xbox One drive is as pure as what Microsoft uses from the factory line. This means we are not "hacking" or "modding" the console or OS in any way. The files are unmodified and direct from Microsoft servers, hence why my belief that Microsoft would ever ban a console that uses this method is as close to zilch as you can get.
3) Disassemble the Xbox One X
If you were curious how I got into my Xbox One X to remove its drive, here is the official video I used:
The part where the hard drive removal begins is about 1:15 into the video for those curious. I did have to play the video back a few times to get all screw locations correct, but the process is absolutely correct with how iFixIt covered it in their teardown above.
Another thing of curiosity is how relatively easy it was to get into the Xbox One X compared to my original Xbox One. While not a gaming PC in ease of entry, it's about as nice as a "set top box" device that I've seen. Modular and well labeled too with clear, large numbers on all major parts inside -- a hint that Microsoft actually doesn't mind this upgrade?
Once you get at the hard drive, it will be need to be removed from its caddy, and the replacement drive will be screwed down to its anti-vibration bumpers and then the whole caddy & drive will get remounted to the board -- just like you took the old one off. The SATA and power connectors will all line up as these connections are industry standard across all SATA disks and SSHDs.
4) Reassemble the Xbox One X
OK I do wish that iFixIt took a chance to show the teardown process in reverse above, but they got me this far so I will reserve judgement. I merely played back the video starting from the rear, breaking down pieces of the assembly process into snips that I could rewind just to get my bearings straight.
One thing of note is that I had a decently tough time getting the top cover back onto the Xbox One X on my first try. It was quite easy to remove, but the process of getting it back on is actually simpler than I thought: it uses a "sliding process" to be slid all the way from the rear towards the front. If you do this and don't try to "bend over" the one larger side first and sandwich the cover onto the console, it will slip on like a glove.
Ensure you don't have any missing screws leftover, and ALWAYS be sure to only hand tighten your screws. DON'T use any kind of powered hand screwdrivers as these may have torque settings that can be hard to decipher safe zones on. I wouldn't risk damaging my $500 Xbox One X over saving 5 minutes of labor honestly.
5) Time To Fresh Install Xbox One OS!
If you placed the Offline System Update files from Microsoft into the right partition in the right folder structure as per the README on the script above, your Xbox should begin the install process upon first boot. Honestly, it will look like nothing other than an official console update patch process with a few differing initial screens. You will know very quickly if you did your work correctly because if not, this screen will greet you fairly early on in the boot process:
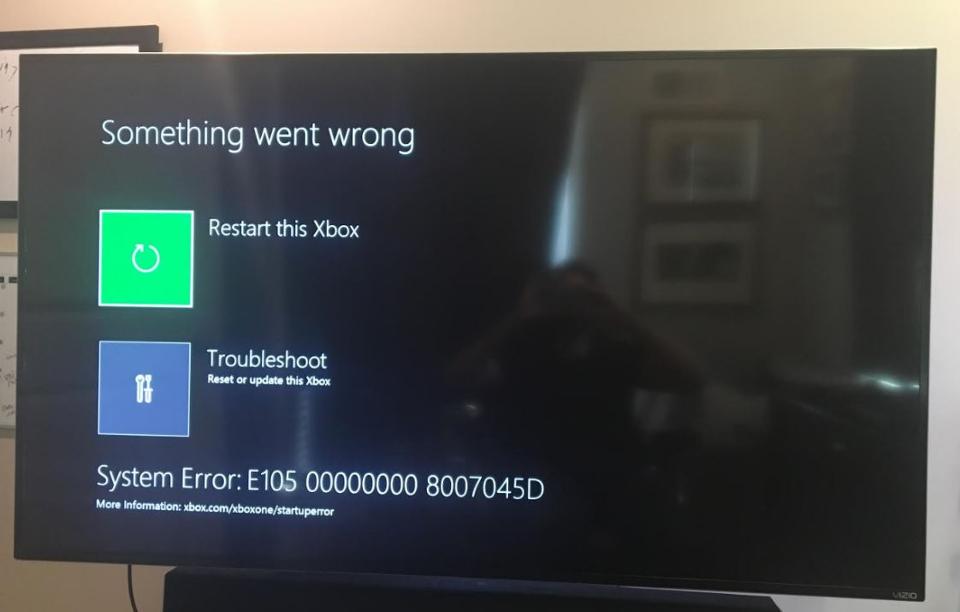
Image Source: Forbes/Dave Thier
But if all went well for you, your Xbox One X should go to a setup experience that is relatively similar to a set of initial option choices that looks like this:
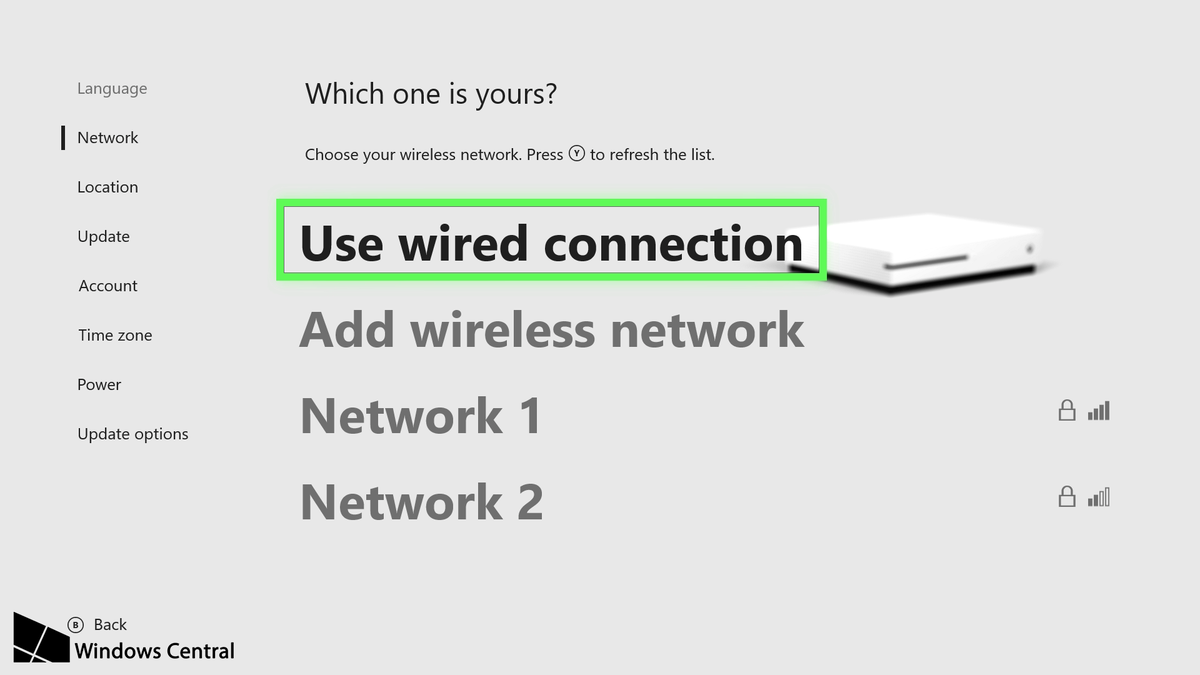
Image Source: Windows Central
And that's it! You've just upgraded your Xbox One X to a larger drive.
In my instance, since I went to a 2TB drive, I show a total usable space of 1.6TB available to me similar to the internal storage size graphic shown here from an Xbox One S:
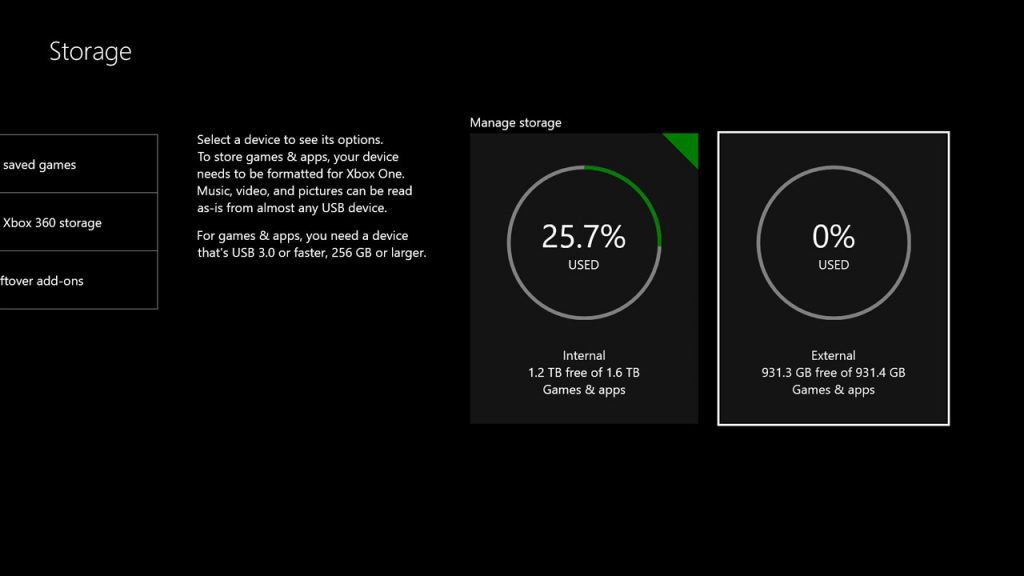
Image Source: Paul Thurrott
If the drive total space available is right sized for the drive you installed, you know that the system is working properly AND that you partitioned your drive correctly. You technically could incorrectly partition a larger drive with a smaller "partition layout" with the script above, so be sure to watch your steps. Tearing apart the Xbox One X any more times than is necessary merely risks doing more damage to internals.
Post-Installation Notes About Upgrading the Internal Xbox One Drive
For those that are curious, I've updated my own personal Xbox One X (Scorpio Edition, but that doesn't matter) just around the Christmas 2017 holiday over a week ago and have since logged over 10 hours on PUBG along with watching my usual media apps like YouTube TV, Crackle, Amazon Video, and others. Yes, everything works as intended and I've noticed no errors so far -- other than the obnoxious game crashes that PUBG sadly experiences which are unrelated to the drive upgrade.
How much of a performance increase do I notice over the standard drive? That's hard for me to say since I upgraded the drive in my original Xbox One to a Western Digital SSHD two years shortly after I bought it. So I've been accustomed to SSHD speeds for some time now. Going back to a traditional stock drive would probably be a shock for me I would think. However, my original Xbox One had a 1TB SSHD that was "cloned" using the now-defunct process from years ago which means a factory reset bricked the console. I actually re-did my original Xbox One SSHD using the new method and resold it after confirming a factory wipe wouldn't kill it. So I've technically got two consoles under my belt to confirm these steps against.
One item that some are wondering: is there anyway for me to move my game files between drives? The long answer, likely yes. However, the methods for doing so are not comfortably easy even for me as an IT pro, and many people noted their mixed experiences with game files becoming corrupted after moves. However, for the purpose of this article and the method I've used twice now, I merely started my console from scratch on the new drive.
Yes, it will entail some time to redownload files. But look at it this way: you aren't carrying over the plethora of OS update files that likely cluttered the old drive, plus the bevy of GB of game files that were possibly abandoned by the console due to age or being replaced with newer versions. I'm not an expert on Xbox One game patching processes, but being intimately technical with how Windows on the desktop patches itself, OS update files are stored for indefinite periods even if they have been superseded. Consider it a much needed spring cleaning and ditch the old game files and let them freshly download on the new drive.
The sole instance where I see it would be practical to do a "supported" and easy game file transfer would be to use the Xbox One to Xbox One transfer functionality that Microsoft now allows over a network. The feature is officially called "Network Game Transfer" and is tucked away in Xbox One settings, but I have used it once and it actually works well -- but does take some time. The best results will be had if you can connect both old and new console over gigabit ethernet on the same switch/router with a wired connection. In my one experience using this, moving about 800GB of game files as a test to my Xbox One X took the better part of an afternoon. I'm sure there is much more that goes on behind the scenes than a traditional Windows file transfer.
Is this process worth the effort for everyone? That's something you need to determine personally. My guide may oversimplify some sections of the process since I have been working professionally in IT for over 12+ years already and the concepts regarding connecting drives to computers, partitioning, scripts and etc are all fairly second hand nature for me. But then again, the simplicity of getting into the Xbox One X along with the wonderful automated script that auto partitions your new drive for you, take 80+ percent of the hard stuff out of this process.
To me, I like the design of the Xbox One X and how sleek it is. To have to ruin its aesthetics with another external device hanging off its side would ruin the entire look and feel. Also, for me, 2TB of space (OK, 1.6TB usable to be fair) is more than enough for my gaming needs and will likely last me into the future. I may reconsider digging back into the XB1X later down the road if SSD prices come down heavily and if Microsoft also recognizes larger drive sizes as factory spec. Assuming this script above would be updated with the new partitioning guidelines and GUIDs necessary, this may be a process that could well grow into larger drive sizes.
So far, the amount of time it took to properly learn the right way to upgrade the internal drive was worth it and I'm happy I did it. Since I had all of the tools necessary already, spending USD $91 on a 2TB SSHD was quite cheap. Seagate stands behind the FireCuda SSHD for 5 years which means if it does die prematurely, I'm entitled to a free replacement. I'm out the games I downloaded, but if you are tied to Xbox Live (as you should be these days) then everything can be re-downloaded without a problem. There is nothing irreplaceable that Xbox One stores on the console that cannot be pulled from the cloud again (in most instances - but for me, this was surely true).
While not the easiest project to undertake, this didn't end up being too difficult either.
Curious about upgrading your own Xbox One X? Have you made the upgrade already? Let us know your thoughts below.
 Derrick Wlodarz is a seasoned IT Specialist who owns Des Plaines, IL (USA) based Managed IT Service firm FireLogic. He has 12+ years of IT industry experience across the private and public sectors, with numerous technical credentials from Microsoft, Google, and CompTIA. He specializes in providing SMB clients with managed IT support, consulting, and training. Derrick is a long-serving member of CompTIA's Subject Matter Expert Technical Advisory Council that shapes the future of CompTIA exams across the world. You can reach him via email at [email protected].