Apple reveals how to scale apps to avoid the MacBook Pro notch

Earlier today we shared details of a handy free app called TopNotch that makes it possible to hide (or at least disguise) the notch that Apple has added to the latest version of the MacBook Pro.
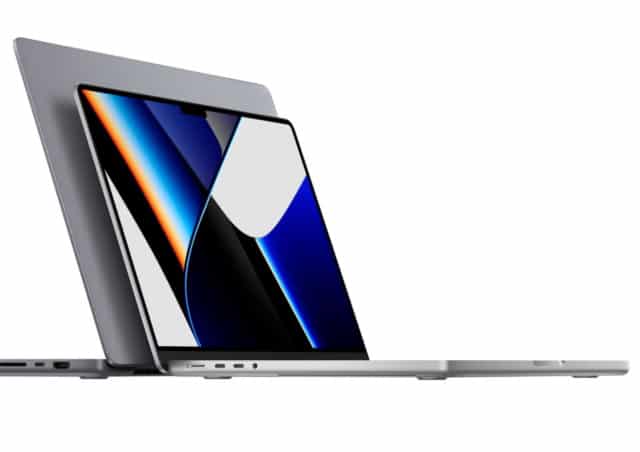
But it seems that even Apple is aware that the position of the notch is not going to be to everyone's liking. The company has published a new support document that explains how apps can be scaled so they do not make use of the notched area of the screen. Here's what you need to know.
See also:
- Microsoft is using KB5005463 update to push PC Health Check app and encourage upgrades from Windows 10 to Windows 11
- Hide the MacBook Pro notch for free with TopNotch
- Microsoft releases KB5006738 update preview to fix printing problems and more in Windows 10
While there are various third-party tools (including TopNotch) that can be used to make the notch less obvious by changing the color of the macOS menu bar, Apple has a built in option that takes a slightly different approach.
In short, by enabling app scaling it is possible to force an app not to make use of the very top portion of the screen, thus avoiding the notch. Or as Apple puts it:
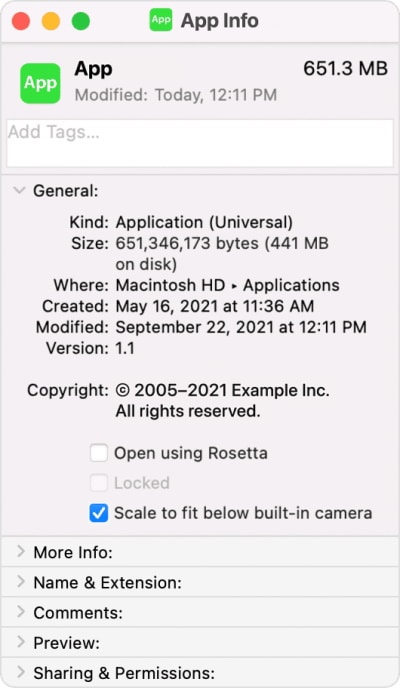
Your MacBook Pro with Liquid Retina XDR display features a camera housing built into the screen bezel. If app controls or menu bar items appear blocked or hidden behind the camera housing, you can turn on "Scale to fit below built-in camera" for the app to adjust the active area of your display. This ensures the menu bar and app windows appear below the built-in camera on your Mac and are always visible.
If you turn on "Scale to fit below built-in camera" for an app and the app has menu bar items or windows that would appear behind the camera housing, all open apps or apps that share the same space appear below the camera until you quit the app using the scaled setting.
Apple shares the following instructions:
- Quit the app.
- Click the Finder icon in the Dock, then click Applications in the Finder sidebar.
- Select the app, then choose File > Get Info, or press Command-I.
- In the Info window that opens, select Scale to fit below built-in camera.
You can see the option in this image:

Over on Twitter, UI/UX designer Joseph Angelo Todaro posted a video showing the scaling in action:
