How to use Microsoft's recovery images for Surface and Surface Pro

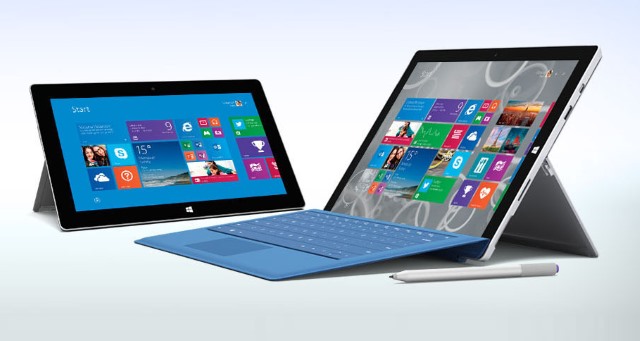
If you're thinking of starting afresh with your Surface or Surface Pro in the New Year, Microsoft just made your life a little easier. The company has just released a series of recovery images for Surface devices that can be downloaded and used to restore the Windows tablet to the state it was in when you first bought it.
As this restore feature is something that's built in by default, you might be wondering what the value of these recovery images is. Well, there's always the possibility that your existing recovery image is corrupt, or you may even have freed up some space by wiping it out. Now you can get it back.
Whether you have one of the original Surface or Surface RT devices, or you treated yourself more recently to a Surface Pro 3, there's a download for you. To grab your recovery image, head over to the download page, sign into your Microsoft account and grab yourself the image for whichever Surface you own. You can't just jump in and download whatever you want, you need to provide your Surface's serial number and you'll be offered the relevant download.
With the recovery image safely stashed on your hard drive, dig out a USB drive with 8GB of free space if you're working with a Surface RT or Surface 2, or 16GB in the case of Surface Pros. In Explorer, right-click the drive and format it using FAT32 and then extract the contents of the zip file you downloaded onto the USB drive.
When you decide you want to restore your Surface to its factory-fresh state, turn off your device and insert the recovery USB drive you have created. Press and hold the volume down button and tap the power button to start up your tablet. As soon as the Surface logo appears, release the volume button and then follow the on-screen instructions to complete the process. Full instructions are available at the Surface support site, but the process is fairly straightforward.
