Try Windows Blue for yourself using VirtualBox
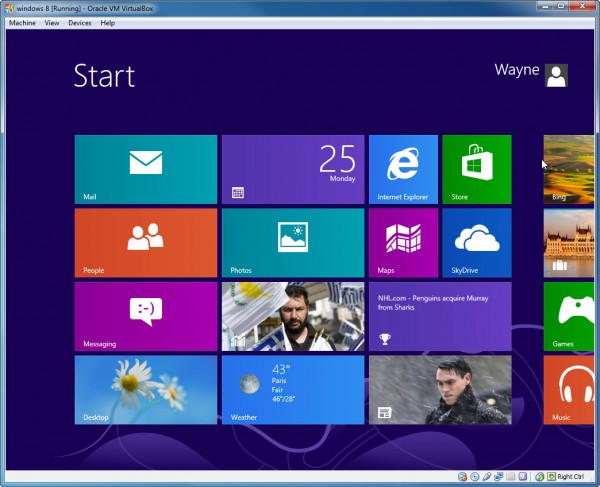
Windows Blue, the next Windows release, leaked onto the internet at the weekend. It has some interesting new features and tweaks, but because it’s such an early and buggy build it wouldn’t be advisable to replace your existing OS with it. You could of course dual boot from it, but it’s just as easy to run it in a virtual environment where any crashes or issues won’t lead to you having to reboot your PC.
For this guide I’ll use Oracle VM VirtualBox because it’s a great free program and setting up Windows Blue is incredibly straightforward with it.
To start you’ll obviously need a copy of the leaked image file -- build 9364. It’s available on all the usual torrent sites, so just do a quick search. The file you want is 2.63GB in size. There’s only a 32-bit version available, but because we’ll be running it in a virtualized environment, it will run fine on 64-bit systems.
Launch VirtualBox and click New in the Manager. In the Create Virtual Machine dialog box enter "Windows 8" as the name of the OS. VirtualBox will fill in the rest of the details for you.
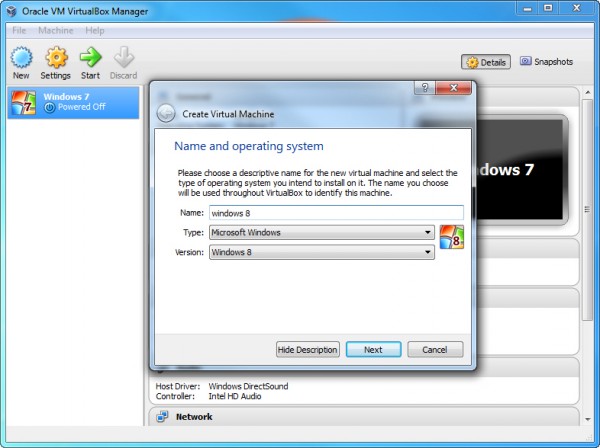
Next set the Memory Size. Accepting the recommended memory amount will likely be fine. On the next screen choose to "Create a virtual hard drive now" and click Create. Accept VDI (VirtualBox Disk Image) as the hard drive file type.
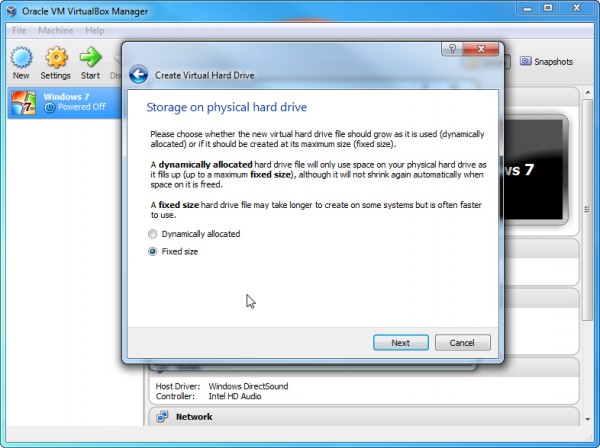
You’ll now be asked if you want the new virtual hard drive to be dynamic (it will grow as required) or a fixed size. I always select the latter option. It takes a while to create a fixed size drive, but the operating system runs faster afterwards.
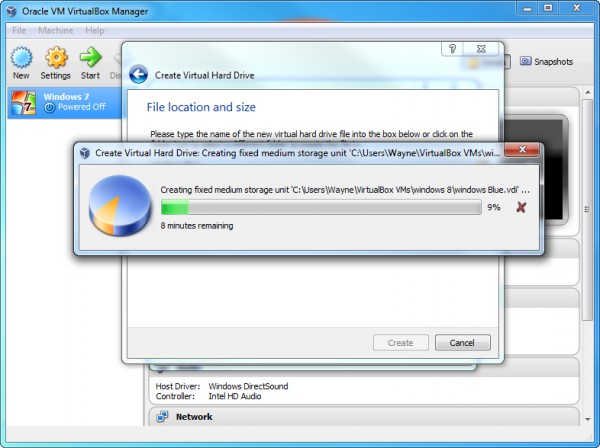
Type in a name for the new virtual drive and choose a size for it. Again, accepting the default will likely be fine. Click Create and VirtualBox will begin building the drive. It will probably take around 10 minutes or so to do this (maybe more if like me you choose to convert some large videos at the same time).
The "Select start-up disk" window will open. If you’ve burnt the downloaded ISO file to disc you can select your drive in the drop down menu (if it’s not already selected). If you just have the file residing on your hard disk, click the folder icon and navigate to it instead.
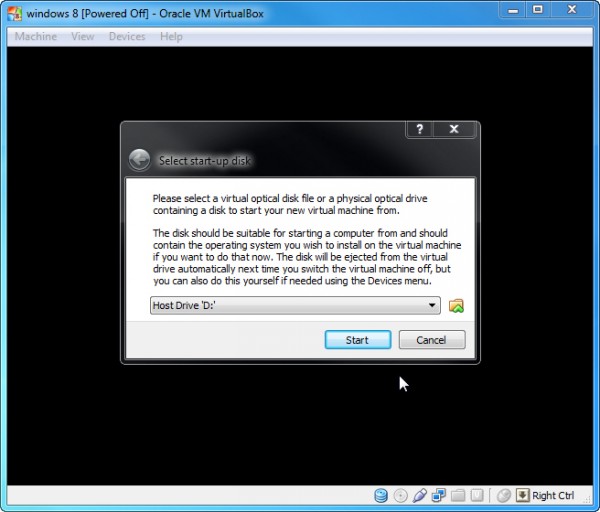
Once selected, click Start and Windows 8 (which is what the OS is referred to throughout) will start to load. The language screen will appear first. You’ll have to accept English (United States) as this is the only option in the leaked build. On the next screen, click the "Install now" button.
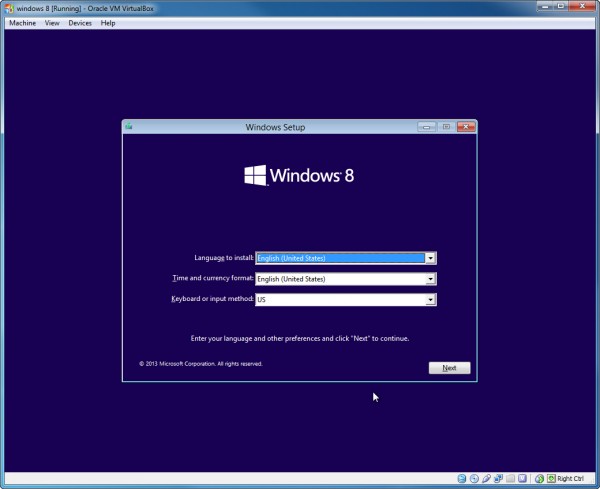
Choose the "Custom: Install windows only (advanced)" option. It will show you the drive it’s going to be installed on. Click Next, and it will begin the installation process, rebooting when required. When that’s done, personalize the OS by picking a color and entering a PC name, and then choosing to use the express settings (which I do) or customizing things further.
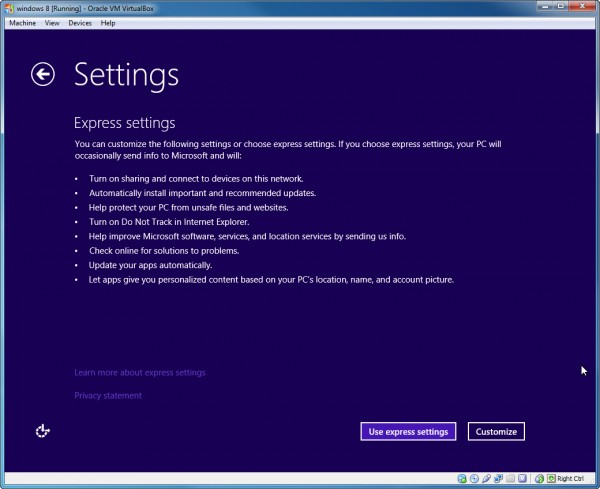
Set up a Microsoft Account if required, and then that’s it. Windows Blue will be up and running and you can begin trying it out for yourself.
