How to create a bootable Windows 10, Windows 8.x or Windows 7 USB flash drive

If you want to install Windows from scratch, you have two choices -- you can install the OS from a CD/DVD or from a USB flash drive. The latter is the better option, especially as optical drives are becoming something of a rarity these days.
The process of creating a bootable USB flash drive for Windows 7, 8.1 or 10, is quick and easy. Here’s how to do it.
What you’ll need:
- A Windows ISO image file. Microsoft provides these for free. Follow the instructions for Windows 7, Windows 8.1, or Windows 10 to get the ISO file(s) you require.
- A Windows product key for your choice of OS.
- A copy of Rufus.
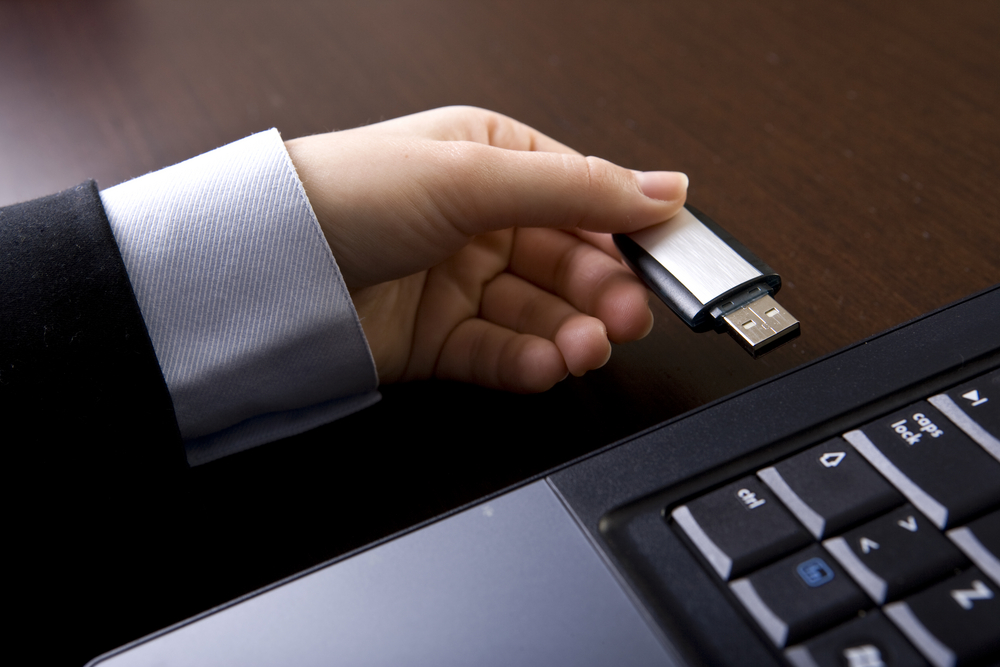
- A USB flash drive. This needs to be a minimum of 4 GB for the 32-bit Windows and 8 GB for the 64-bit Windows. The bigger the drive, the faster everything will be.
- A Windows PC.
Launch Rufus, and select your USB drive in the drop down box. Obviously make sure you select the right drive. Click the disc button to the right of the ISO Image box and locate the downloaded ISO file.
Now you have two options. You can create a bootable USB flash drive, or Windows To Go. Select the former option to create installation media, or the latter option if you want to be able to run Windows directly from the flash drive. If you do select the second option you will need a very fast drive. More importantly, the target drive needs to have the FIXED attribute. This is a hardware property that can only be changed using custom tools that may not be available for your drive. Feel free to Google "Flip the removable bit" but don’t expect too many great solutions.
Click Start and the drive will be formatted and the files copied over to the memory stick. To boot from the drive, plug it in and restart your PC. Make sure your computer is set to boot from the USB device. You can change the boot order in the BIOS if it isn’t.
You can of course also run an inline upgrade from the flash drive directly from inside Windows.
