Retro wiring an old house for internet and home theater
I've been asked how I wired my old house for home theater, so I've written down a quick guide of the steps to getting started. Yes, you could opt for a mesh router system to deliver Wi-Fi across all the floors of your home, but if, like me, you live somewhere where speeds are a little slower, then a wired connection will likely be preferable.
If you have new construction to work with then get this done along with electrics while the walls are open. Most likely if you're reading then then you’re dealing with existing construction and that complicates things, but it can be done.
With an existing construction, you hope for some things on your side. I did mine in an 1800s Victorian and this is how I worked things out.
My internet was installed in my office on the third floor and I have separate modem and router, something I always recommend if possible. I ran a very long (over 50ft) cate 5e cable through a hole I drilled in the outside wall, then down the side of the house and into a hole I drilled through a basement window sill. I used blank cable so the holes would be small, but this does mean adding your own connectors. The cable continues across the basement ceiling to the other side, under the living room. This is a good time to mention that an unfinished basement is a plus in this job. And be sure to caulk those holes before cool weather comes.
This brings us to the first piece of hardware in your new system; a network switch. This simply takes the connection from the cable you feed into it and routes it back to multiple locations. Switches are available with five outs or more if you need a bigger capacity.
From this simple switch, which I mounted on a wall, the internet connection can travel on to its pre-destined connections in the house.
That was up through the ceiling/floor into the living room to power all of those wonderful devices I later installed.
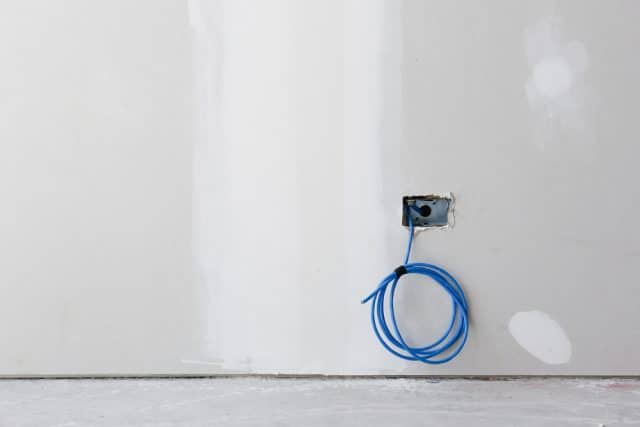
I also needed to add a dedicated power outlet for my system. I added a new 20amp breaker and ran wiring to come up in the wall behind the media cabinet. There is nothing else in the house on this circuit, so it can handle everything with no problem, and I don’t have everything on at once anyway.
A word of caution here, if you aren’t comfortable with electric and doing the breaker and outlet then don’t, get some help. It does involve taking the cover off of the panel and getting in there and, I can’t stress enough, the inside of that panel can kill you, literally So when in doubt lean towards caution.
If you’re in, then connect the black, white and copper wires to the breaker and snap it into the panel. Please be careful here, black goes to the brass screw, white to the silver one and the bare copper to the ground or green screw. Double-check yourself here, if you’re wrong the results aren’t pretty.
With Cat cable pulled up behind through the floor behind the cabinet you’re ready to go.
In my case I connected to another network switch in the cabinet to handle the theater pieces, so all wiring is mostly in the cabinet, except for speakers. Those wires run back down through the hole and across the basement ceiling to below where they're needed. Choose locations carefully, you'll be drilling a couple more holes In my case, one under an end table for a sub and one behind a sofa for rear speakers.
Now, have fun buying and setting up all of your goodies -- receiver, TV, Blu-Ray, Roku, Fire TV, Apple TV, whatever you wish to add.
If you've done something similar, let me know how you got on in the comments below.
Image credit: Jayz3t/ Shutterstock