Did you buy the Raspberry Pi 2? Here are 5 things to do first [How-to guide]
The first generation Raspberry Pi was a rousing success; its low cost and potential captured the imaginations of many. For $35, you could not only buy an inexpensive computer, but be a part of something. In other words, the Raspberry Pi community is so vast and plentiful, that ownership gains access to countless projects.
The Raspberry Pi 2 is now here, however, and it ups the ante even further. This new generation Pi is six times more powerful than the original, while retaining the same $35 price tag. Buying one is a no-brainer, but if you do purchase it, it may be confusing as to what you should do first. Don't worry, we've got your back; here are 5 things you should do.
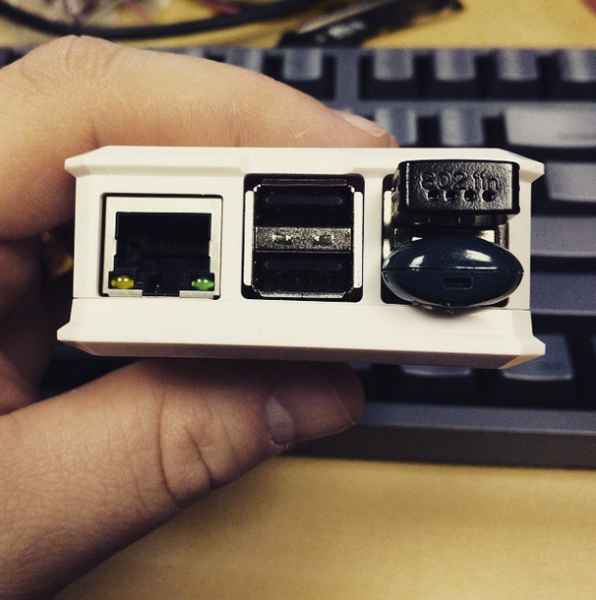
1.) Buy a case. The mini-computer ships without a case, as it does not require one. With that said, I urge you to buy one to protect your investment. True, the computer is inexpensive, but still, why risk damaging it?
I would recommend the case below, which is inexpensive and well-designed. To install the case, watch the video below, with the heading of Case and Heat Sink Installation.
2.) Gather your hardware. You will need at the very least, a micro SD card, a micro USB power source and a USB keyboard. I would suggest also adding a USB mouse, USB Bluetooth and a USB Wi-Fi adapter. If you plan on hard-wiring your Pi to a modem or router, you can forgo the Wi-Fi, but I have a feeling that many of you will want the freedom to move the computer around and not be tethered to a location where there is active Ethernet. I would recommend the adapter found below.
3.) Load operating system onto microSD card. There are multiple operating systems available for the Pi 2, but I would suggest only using Raspbian. Why? It is based on Debian Wheezy and has a lot of packages available. You can download the OS here.
Once the file is downloaded, you must install it to your microSD card. You can follow the official guide for your operating system below.
4.) Boot it up! OK, this is the exciting part -- powering on the diminutive computer. On the first boot, you will be presented with a settings screen. For most users, you will want to do a few things -- expand the filesystem, set a password and overclock.
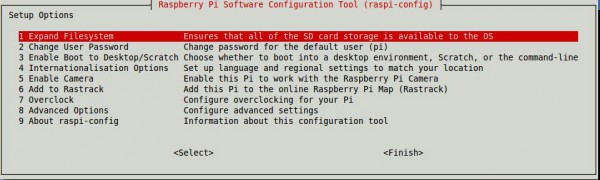
When you install the operating system on the micro SD card, the entire card is not usable by the file system. This is a problem of course, as you want to take advantage of the entire card. Select the "Expand Filesystem" option and the entire card is now available to the OS.
A password is optional, but highly recommended as a best practice. Just do it!
Overclocking is optional, but I suggest it as it is only a modest 100 MHz increase, which limits risk. Could this potentially ruin your precious Pi 2? Yes, I suppose so, but not likely. If you are comfortable doing so, select "Raspberry Pi 2" from the overclock menu and you will go from 900 MHz to 1 GHz.
5.) Update firmware and packages. Now that you are booted into Raspbian, you will want to update the firmware and packages. Follow the below steps in the terminal.
- sudo apt-get update
- sudo apt-get upgrade
- sudo rpi-update
- sudo reboot
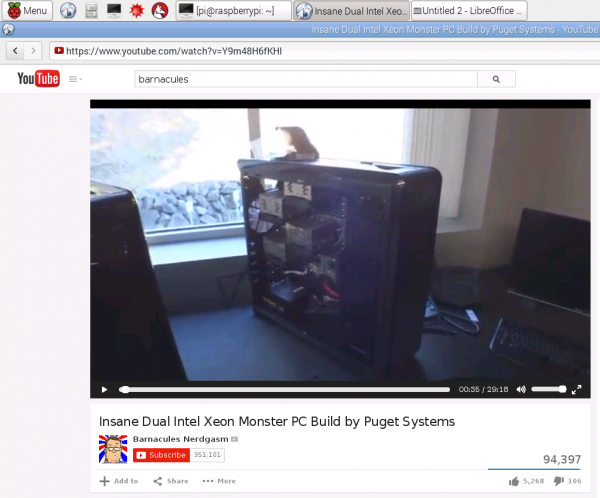
Once your Pi 2 reboots, you can install additional software. I recommend VLC, and LibreOffice at the least. Chromium is also available as an alternative browser, but the version offered is outdated and buggy. Still, you may want to try this as an option.
To add these packages, do the following in terminal.
- sudo apt-get install vlc
- sudo apt-get install libreoffice
- sudo apt-get install chromium
Raspbian comes with LXDE as the default desktop environment, but I am not a huge fan. Sure, it is functional and lightweight, but so is Xfce, which is better. With that said I recommend installing Xfce and using that instead. I have found it to be peppier than LXDE on this hardware (it is prettier too).
To install Xfce, enter the following in terminal.
- sudo apt-get install xfce4
Once it is installed, log out of your desktop. On the login screen, select Xfce before logging in with your credentials and enjoy!
Conclusion
Congratulations! You now have a full-fledged computer, capable of web-surfing, YouTube watching, office work and much more. As an added bonus, the below videos should help you on your journey too.
Case Unboxing
Raspberry Pi 2 Unboxing
Case and Heat Sink Installation