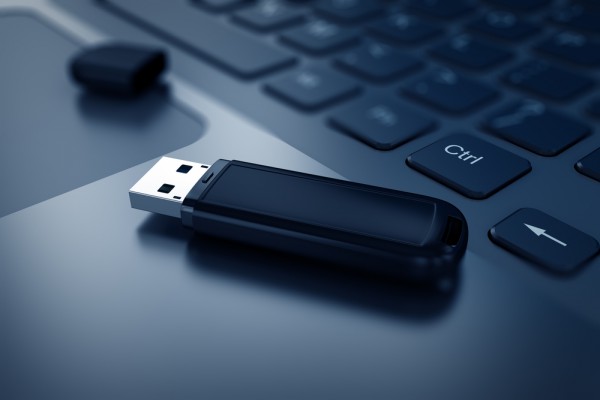
How to create a bootable Windows 8.1 Update USB drive

Even though Windows 8.1 has been designed to work fine on touch-enabled devices as well as traditional PCs, many argued that Microsoft was still not doing enough to please those who are exclusively relying on a keyboard and mouse to navigate through the operating system. Luckily for them, Microsoft has listened to user feedback and introduced Windows 8.1 Update, during the latest Build conference.
Microsoft has revealed that Windows 8.1 Update -- well, the Update bit anyway -- will roll out to consumers starting April 8. The refreshed operating system as well as the individual update are already available though, to MSDN and TechNet subscribers. Here is how you can create a bootable Windows 8.1 Update USB drive.
Requirements
In order to create a bootable Windows 8.1 Update USB drive you will need the following:
- A device that is running Windows;
- The Windows 8.1 Update DVD or ISO file;
- A 4 GB or larger USB drive (ideally a fast one).
What If I Have a Windows 8.1 DVD/ISO?
If you have a Windows 8.1 DVD or ISO you can slipstream Update, which effectively turns it into a Windows 8.1 Update setup. Since Microsoft does not provide an easy-to-use official tool, you will have to rely on third-party software for this.
WinReducer and Win Toolkit are two tools which can serve this purpose well. No matter which one you end up choosing, here is what you have to do (these are the universal steps):
- Open the DVD or ISO file using the dedicated software (you can also extract the contents in a specific folder, and use it instead, for the process, with that software);
- Without performing any other changes, load Update -- each individual component, in the order presented below -- in the software's slipstreaming/integration tool;
- Initiate the process.
Because Microsoft recommends applying each Update component in a specific order, you have do the same for slipstreaming/integrating the updates in the setup, to avoid running into any issues, as follows:
- KB2919442;
- KB2919355;
- KB2932046;
- KB2937592;
- KB2938439;
- KB2949621.
Check this guide, written by my colleague Wayne Williams, to learn more on how to slipstream Update in a Windows 8.1 setup, using WinReducer 8.1.
What If I Only Have a Windows 8.1 Product Key?
For Windows 8.1, Microsoft provides a dedicated tool that allows you to download the ISO file, and create a bootable USB drive, by using the product key you have. The software giant has not yet revealed whether it will do the same once Windows 8.1 Update is generally available, but if it does refer to my previous guide on the steps you have to follow.
How Can I Leverage the Windows 8.1 Update DVD or ISO file?
In order to create a bootable USB drive from the Windows 8.1 Update DVD or ISO you first have to copy the contents of the DVD or ISO to a folder on the internal storage of the device you are using for the process. For the latter media, you can use 7-Zip or WinRAR in order to extract it, or mount it in Windows and manually copy the contents. Before doing this, make sure the drive you choose has more than 4 GB of available space so you do not run into any issues.
After you have completed this task, perform a backup of the contents stored on the USB drive and then follow the next steps:
- Open Command Prompt. This can be done by using the Run feature (Windows Key + R opens it), typing cmd, and opening the tool.
- Type diskpart to trigger disk partitioning. Accept the UAC security prompt, if needed.
- Insert the USB drive.
- Type list disk. The tool will then list all the physical drives (HDD, SSD, USB, etc.) that are attached to the device.
- Identify the disk number of the USB drive (it can be recognized by looking at the size column; it is usually the last one listed) and then type select disk X, where X is the disk number of your USB drive.
- Type clean.
- Type create partition primary. This command will create a primary partition on the USB drive.
- Type select partition 1. This command will select the created partition.
- Type active. This command will make the selected partition active.
- Type format fs=ntfs quick. This command will format the created partition as NTFS.
- Type assign. This command will assign a letter to the USB drive, which will make it show under Windows Explorer.
- Copy the contents of the Windows 8.1 Update DVD or ISO from the created folder on the USB drive.
Here is a step-by-step visual guide which features all the commands you have to use.
[portfolio_slideshow id=193131 size=large autoplay=false random=false centered=true carousel=true navstyle=graphical navpos=bottom pagerstyle=thumbs pagerpos=bottom]
What Next?
Now that the bootable Windows 8.1 Update USB drive is created, you can proceed to installing the operating system. Connect it, set your device to boot from USB drives, and then follow the on-screen guide.
Photo Credit: You can more/Shutterstock
