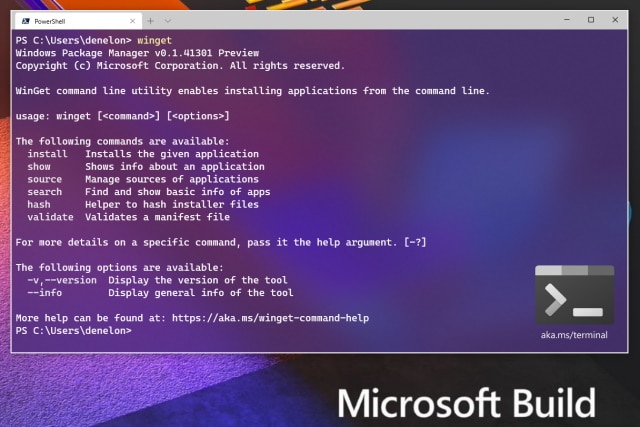
How to use Windows Package Manager to streamline and automate app installation

Using a package manager to install software is something that will be familiar to Linux users, but it's not something that has been an option for anyone running Windows. But now this has changed since Microsoft released a preview of its Windows Package Manager utility.
You can think of using the winget command as an alternative to using the Microsoft Store to install app, or using traditional executable installers. But it's not just and alternative -- it also has the potential to be more flexible and powerful. Here's how to use Windows Package Manager and how to script it to automate the installation of several programs.
See also:
- Microsoft launches Linux-style Windows Package Manager Preview
- Windows 10 is adding support for graphical apps to the Windows Subsystem for Linux
- Microsoft releases PowerToys v0.18.0 with new Run launcher and keyboard remapper
First of all, you will need to actually get hold of the Windows Package Manager, and there are various ways to do this. If you are a Windows Insider, you will already have the tool available to you, but there is also a dedicated Windows Package Manager Insider Program. Alternatively, you can download it directly from GitHub.
Once you have access to the tool, you can make use of it through the Windows Terminal, PowerShell or the Command Prompt, whichever you prefer. We're going to use PowerShell.
The first thing you can do is to check to see what software is available for you to install. Use the following command:
winget install
You'll be presented with a curated list of available software. Scan through and note the name of something you would like to install. We're going to install the CPU-Z utility using the following command:
winget install cpu-z
After hitting Enter, the software is downloaded and installed, and you'll then find it in the Start menu as usual.
You may be wondering just what's so special about this. It is, ultimately, just another way of grabbing software. But the Windows Package Manager becomes particularly powerful if you use scripts. This is perhaps simpler using the Command Prompt as you can use Notepad to create a .BAT file to run your script.
In the sample script below, we can use winget to install 7Zip, KeePass and Notepad++:
@echo off
Echo Install 7Zip, KeePass and Notepad++
REM 7Zip
winget install 7Zip
if %ERRORLEVEL% EQU 0 Echo 7Zip installed successfully.
REM KeePass
winget install KeePass
if %ERRORLEVEL% EQU 0 Echo KeePass installed successfully.
REM Notepad++
winget install Notepad++
if %ERRORLEVEL% EQU 0 Echo Notepad++ installed successfully. %ERRORLEVEL%
Of course, you can tweak the script to install more or different programs, and this is a great way to speed up the installation of common software on multiple computers, or after reinstalling Windows.
If you prefer to use scripts in PowerShell, use the following format in a .ps1 file (in this example, we're installing Python and Discord):
winget install --id=Python.Python -e && winget install --id=Discord.Discord -e
You can also generate scripts using the site Winstall.
