How to use Windows 10's new Timeline feature
Your web browser remembers every page you visit, making it easy to return to a site you saw earlier. Timeline is a similar idea, but for the latest version of Windows 10.
It remembers all of the different tasks, apps and files you’ve been working on, across your various Windows devices. In future it will even work with Microsoft’s many iOS and Android apps, and maybe third-party apps too.
SEE ALSO:
- How to upgrade your PC to the Windows 10 April 2018 Update now
- How to delay the Windows 10 April 2018 Update
- Six great hidden features in the Windows 10 April 2018 Update
- How to download the Windows 10 April 2018 Update and create your own installation USB flash drive or DVD
- Free up over 30GB of hard drive space by cleaning up after the Windows 10 April 2018 Update
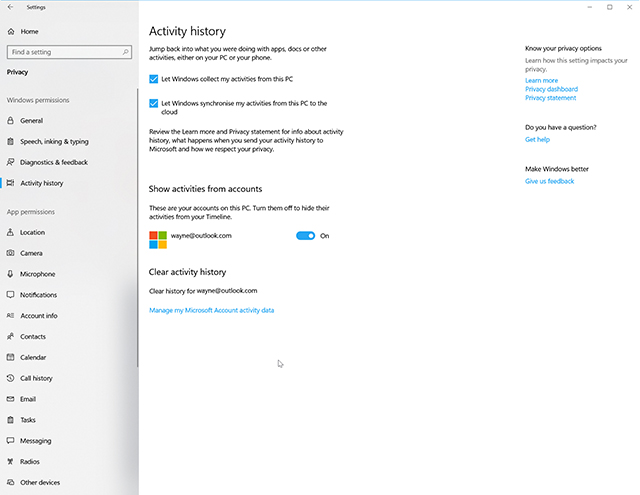
You need to be running the April 2018 Update of Windows 10 to use it. A new Activity History Settings page allows you to configure which accounts appear in Timeline, and Cortana can now also suggest activities you might like to resume.
Timeline is enabled by default (you can disable it if not required) but you can customize it by opening Settings and going to Privacy. Click on Activity History. If you want to be able to access your activities across devices, enable Let Windows sync my activities from this PC to the cloud. Disable any accounts you don’t want to appear in Timeline. You can also clear your activity history from here.
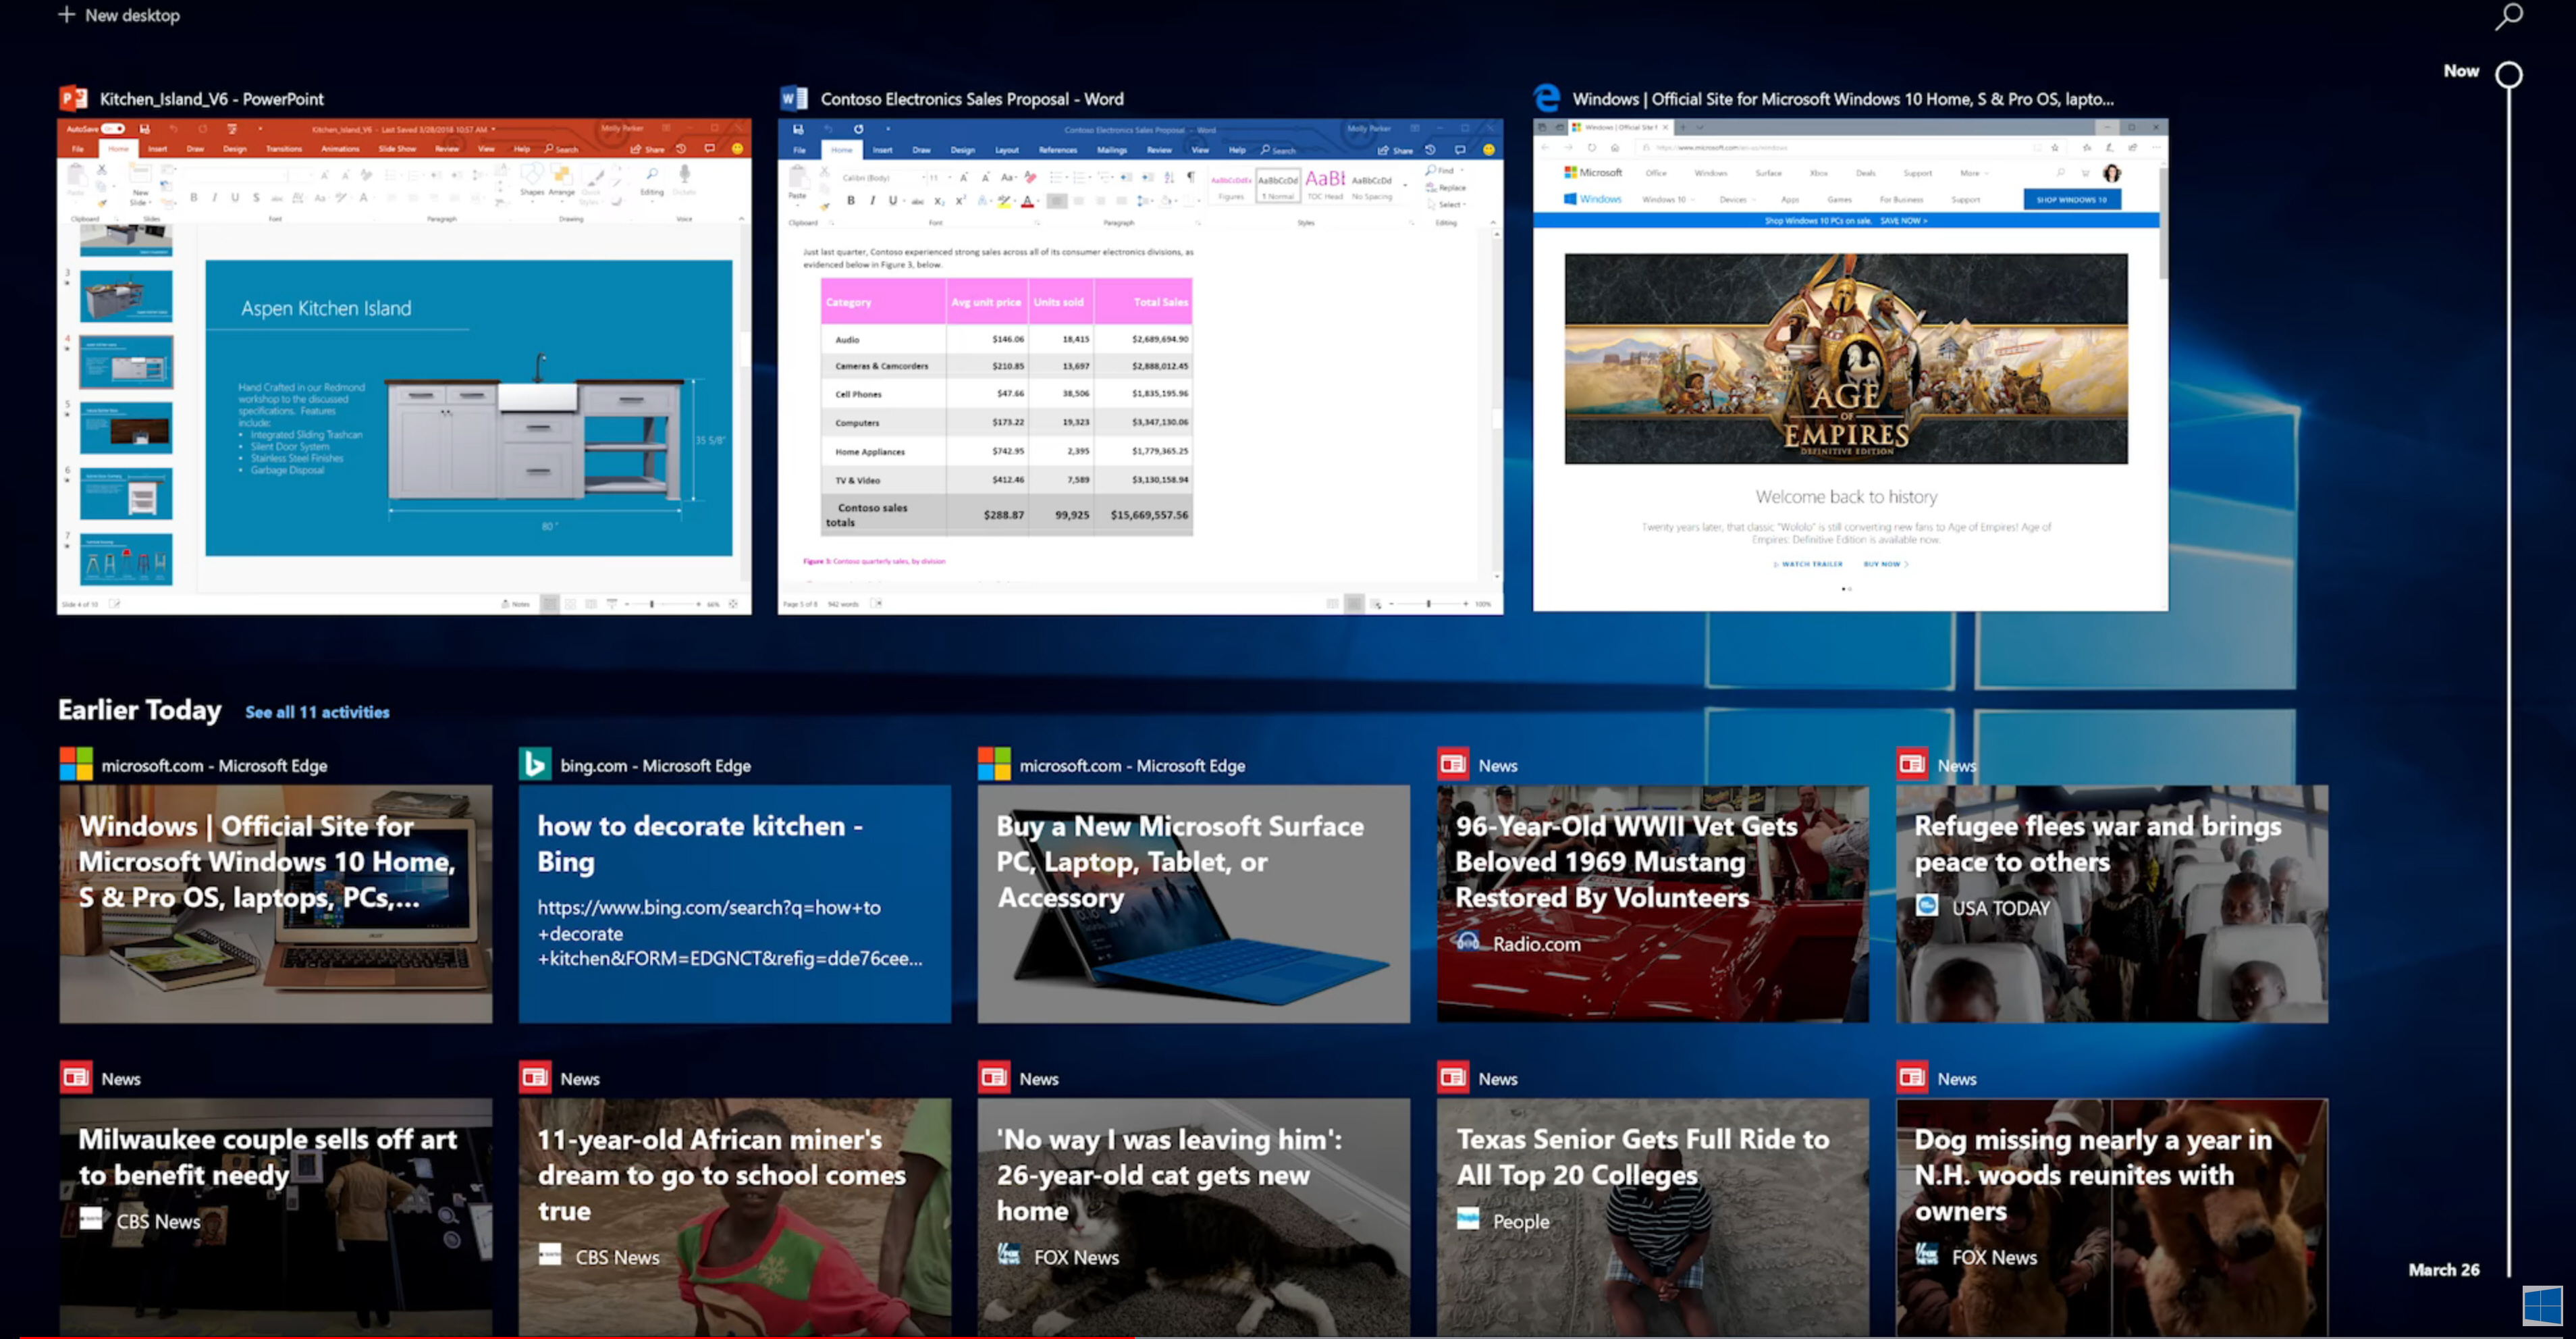
Use your PC just as you would normally, and then click the Timeline button next to the search box -- which is where the Task View button was previously.
You can scroll through your past activities, and click any item to switch to it, and resume where you left off.
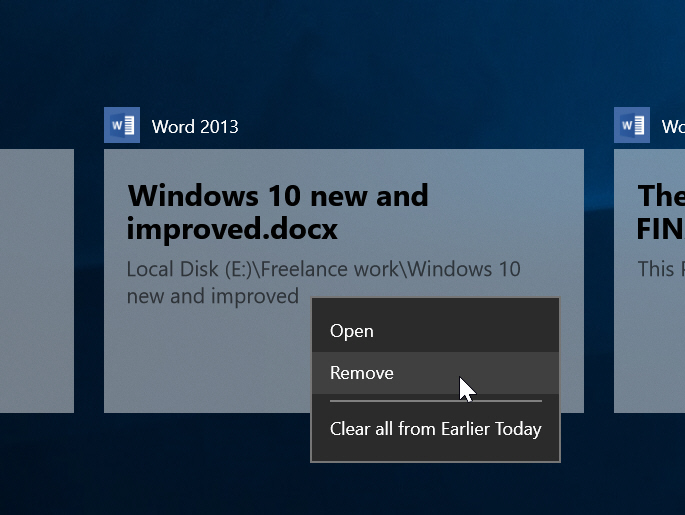
You can search for a particular activity and delete any you don’t want included by right-clicking on them and selecting Remove. You can also clear all activities from a particular day.
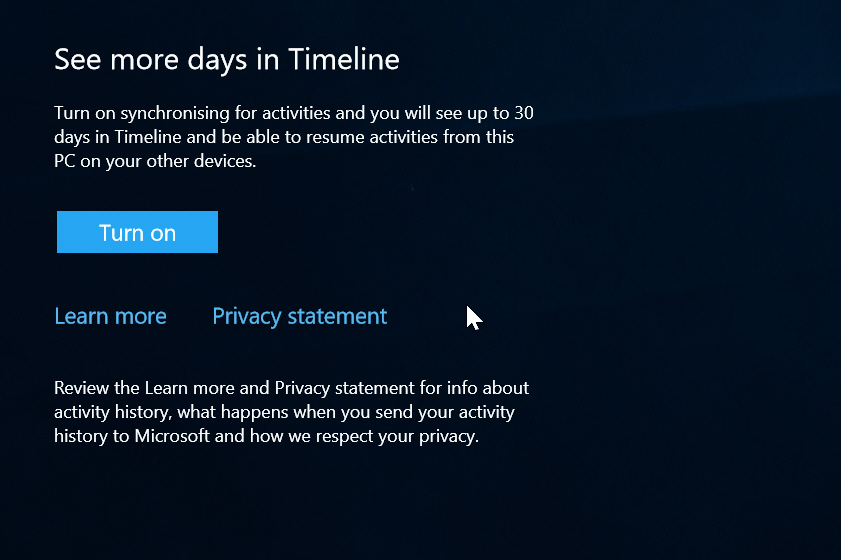
If you want to see up to 30 days in Timeline you will need to turn on synchronizing for activities.